How to apply Gel Nail Stickers?
Creating the perfect manicure has never been easier. Gel Nail Stickers are the ultimate solution for anyone wanting a professional, long-lasting look without spending too much time on their nails. Before applying your gel stickers, make sure your nails are properly prepped.

Watch the video or follow our step-by-step tutorial below.
4 easy steps to apply gel nails at home!
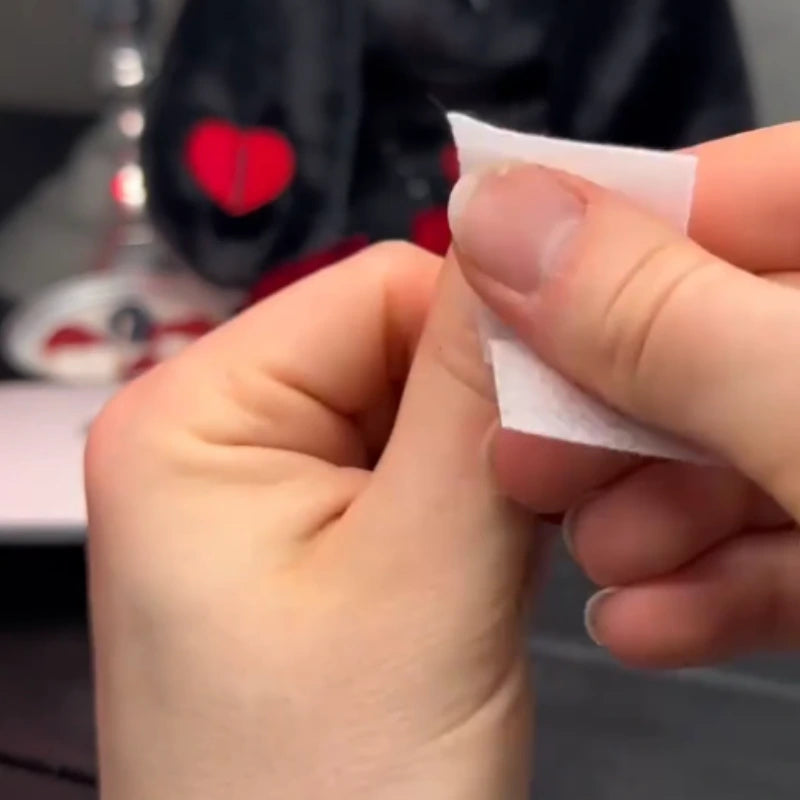
1
Prep & Cleanse
Use the included prep wipe to clean your nail surface carefully.
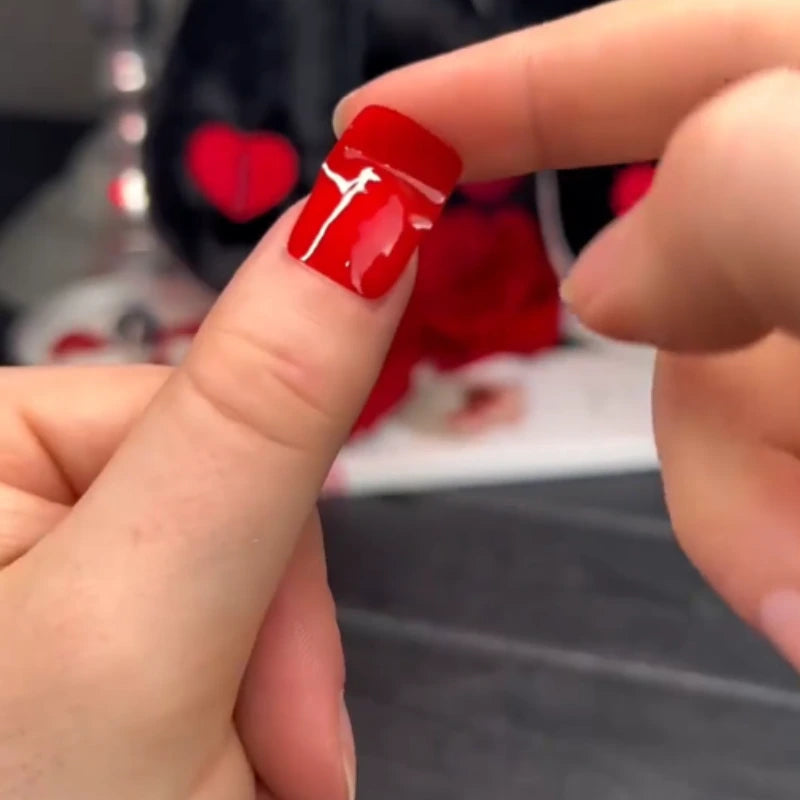
2
Size & Apply
Select the right size strip for each nail, apply from the base, and press firmly to avoid bubbles.
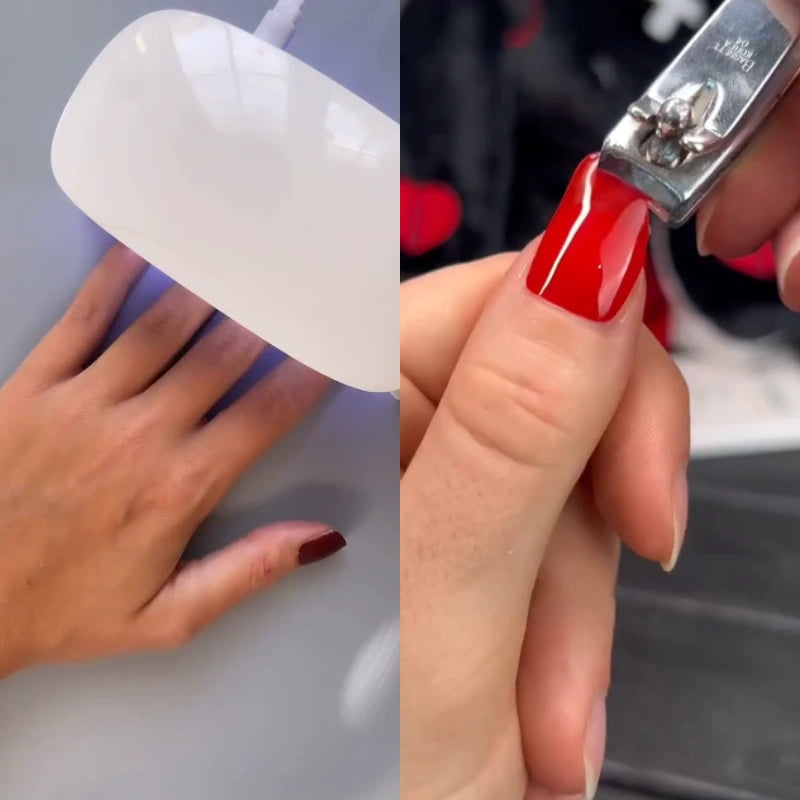
3
Cure & Set
Cure under the UV/LED lamp for 60–90 seconds to harden the gel and secure the strips.
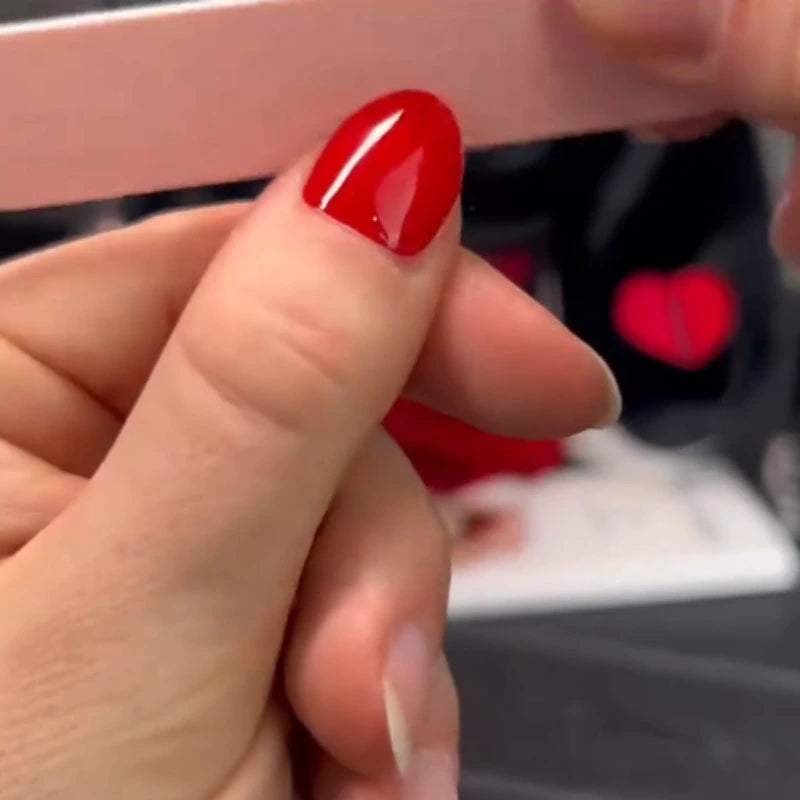
4
Trim & Shape
Trim excess strip with clippers, then file to your preferred shape and smooth the edge.
How long do Gel Nail Stickers last?
Thanks to their multi-layered structure, Gel Nail Stickers stay flawless for up to 20 days. For even longer wear, apply a gel polish Top Coat to seal and protect the stickers. This helps extend their longevity and keeps them looking perfect.
How to remove ?
No drills, no harsh chemicals, just pure nail health. Enjoy a professional gel finish with zero damage to your natural nails.
- 1
Apply cuticle oil (or any oil)
- 2
Lift gently with a wooden stick
- 3
Peel away the UV wrap
Let’s glow!
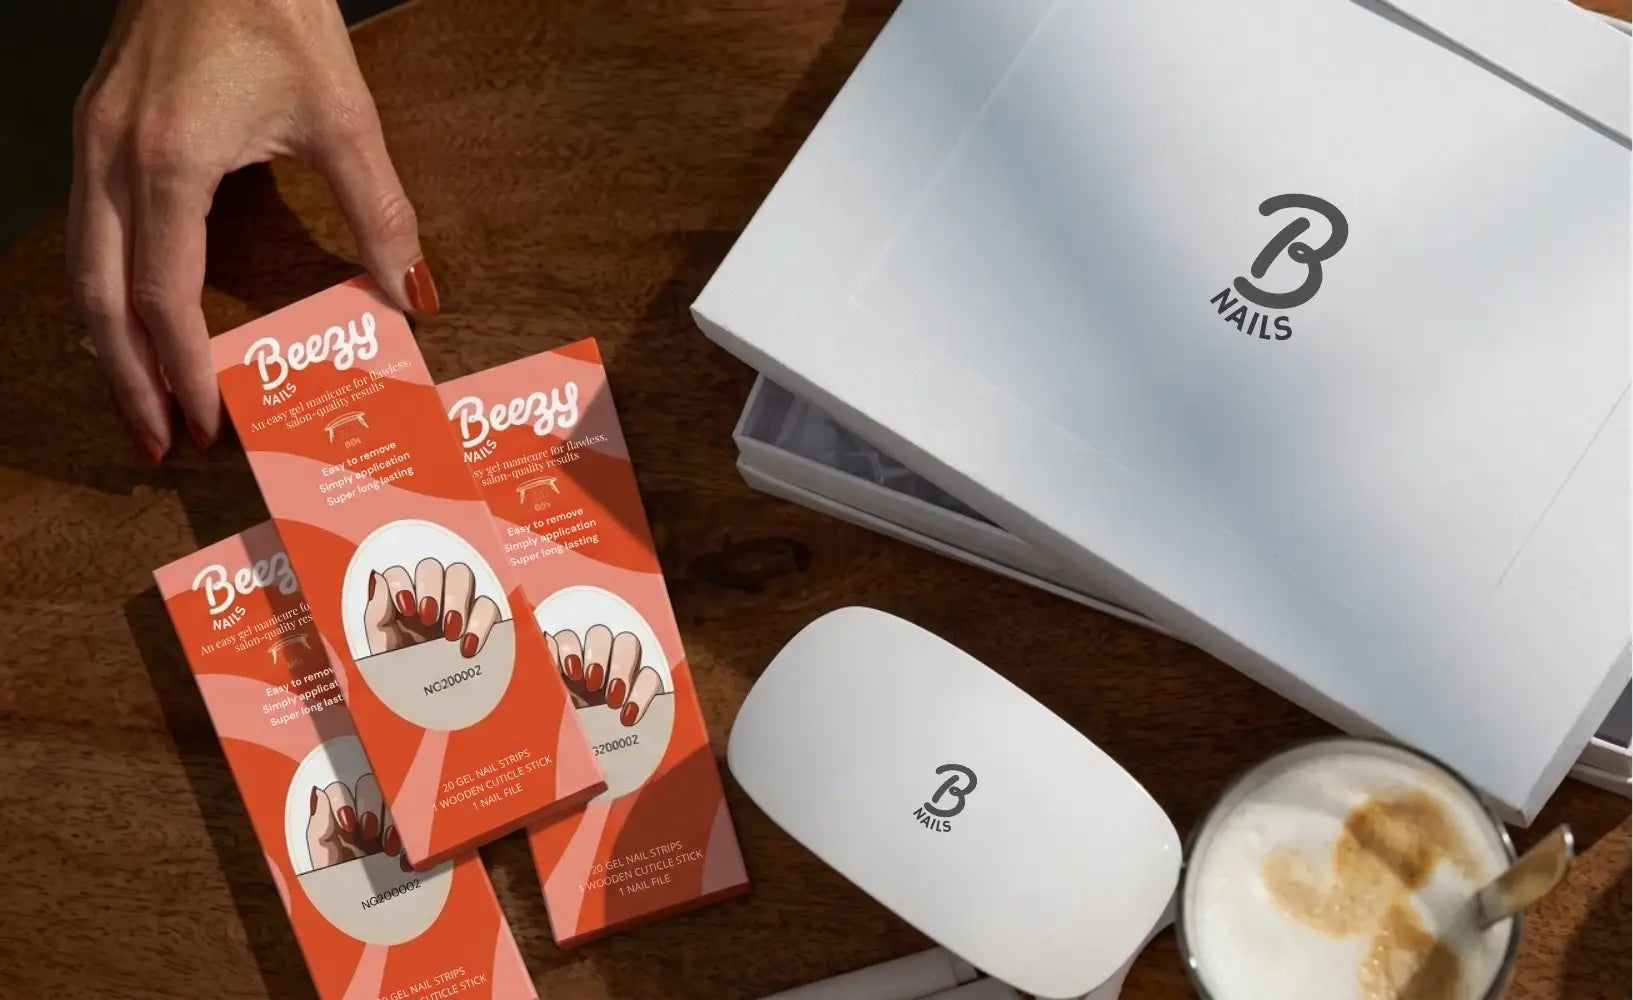
Everything You Need for a Flawless Mani
Our Starter Pack is basically a salon in a box. Pick your 2 favorite shades to match your vibe, and we’ll handle the rest! You’ll also get our cute (and super handy) mini UV LED lamp plus our magic Remover Serum for a damage-free, easy switch. Your nails, your rules.
Go to Starter Pack

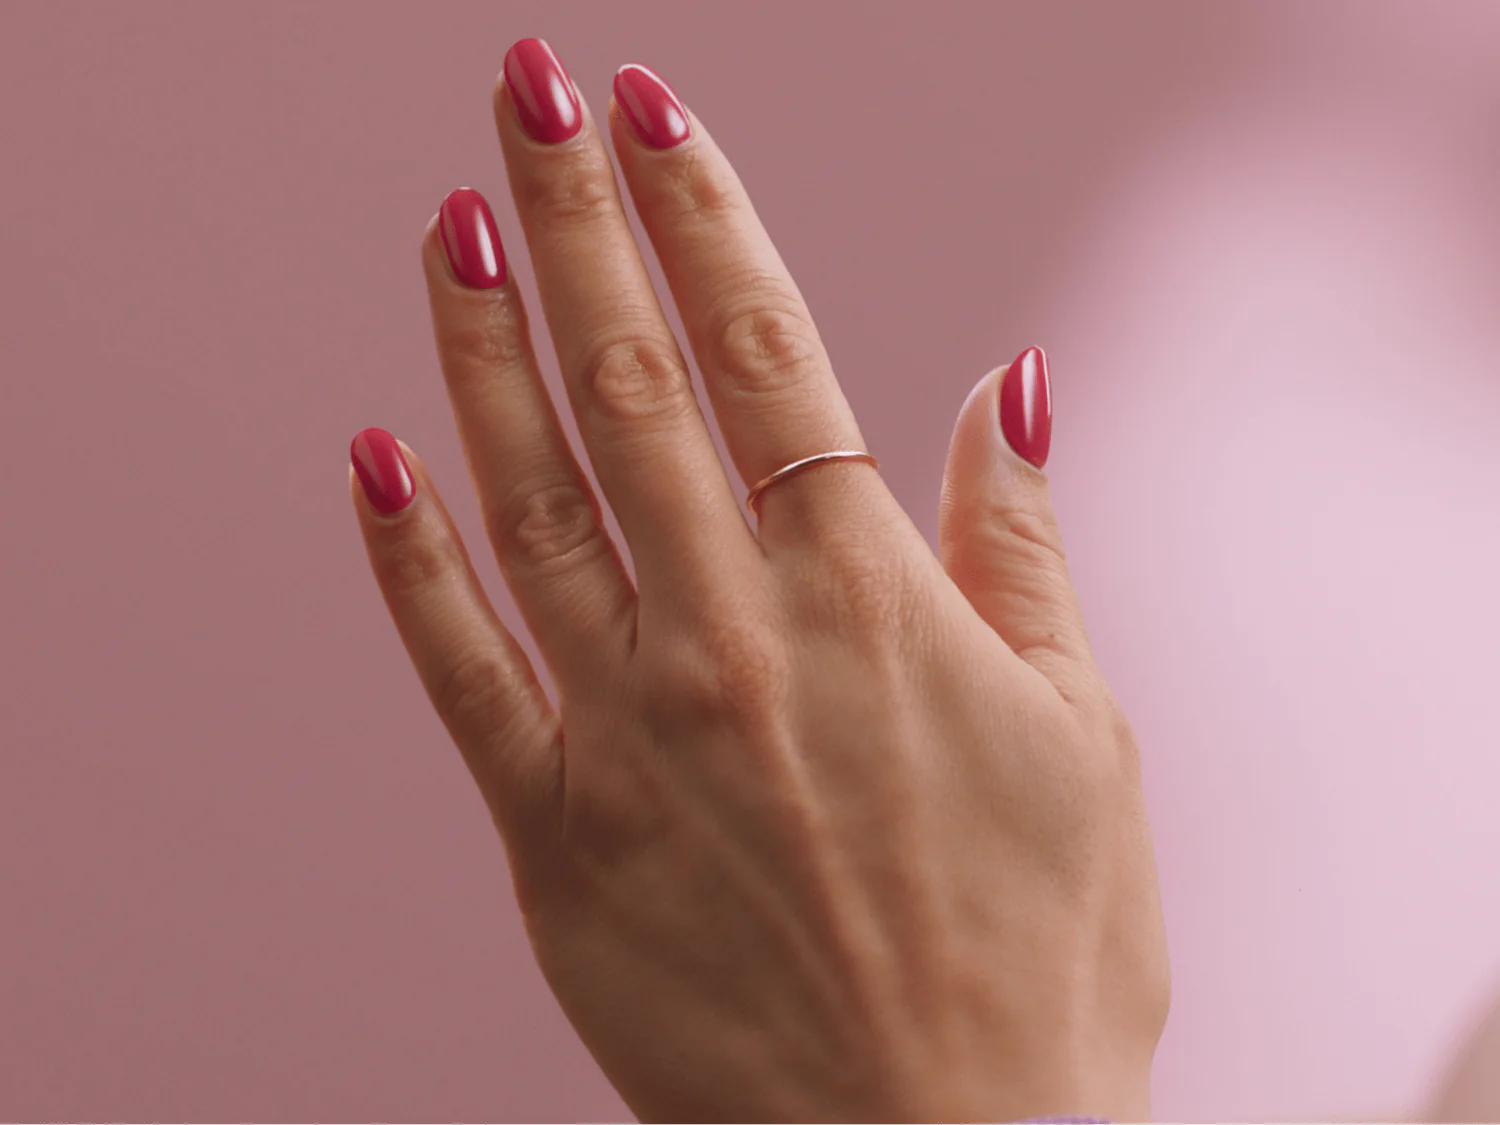
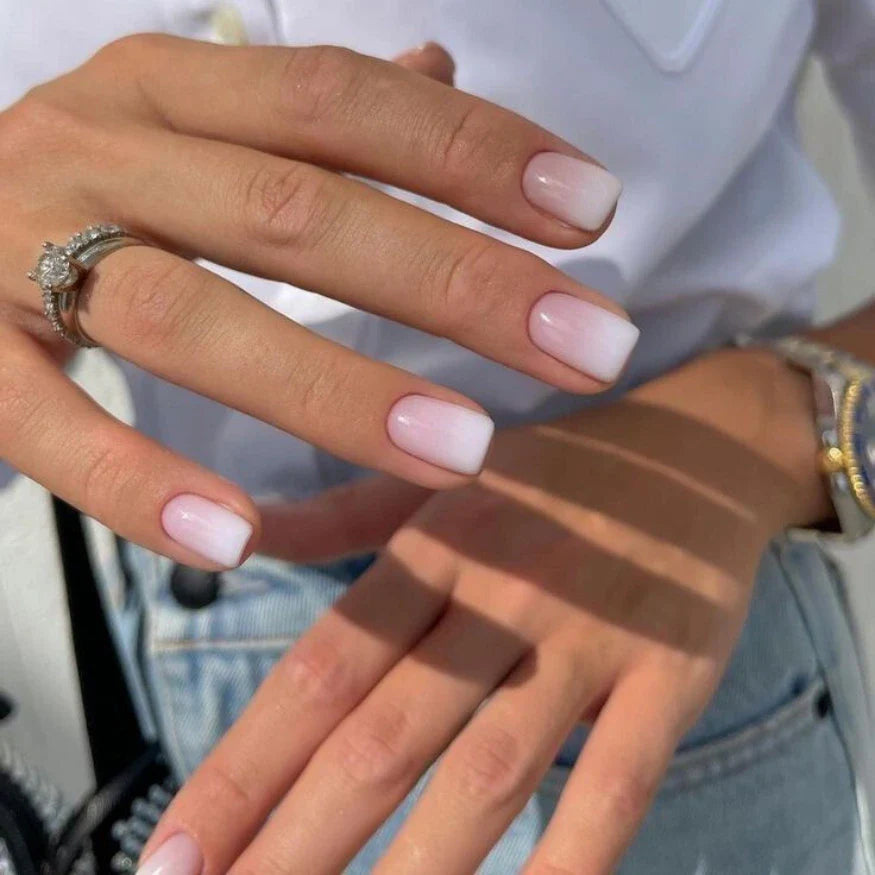
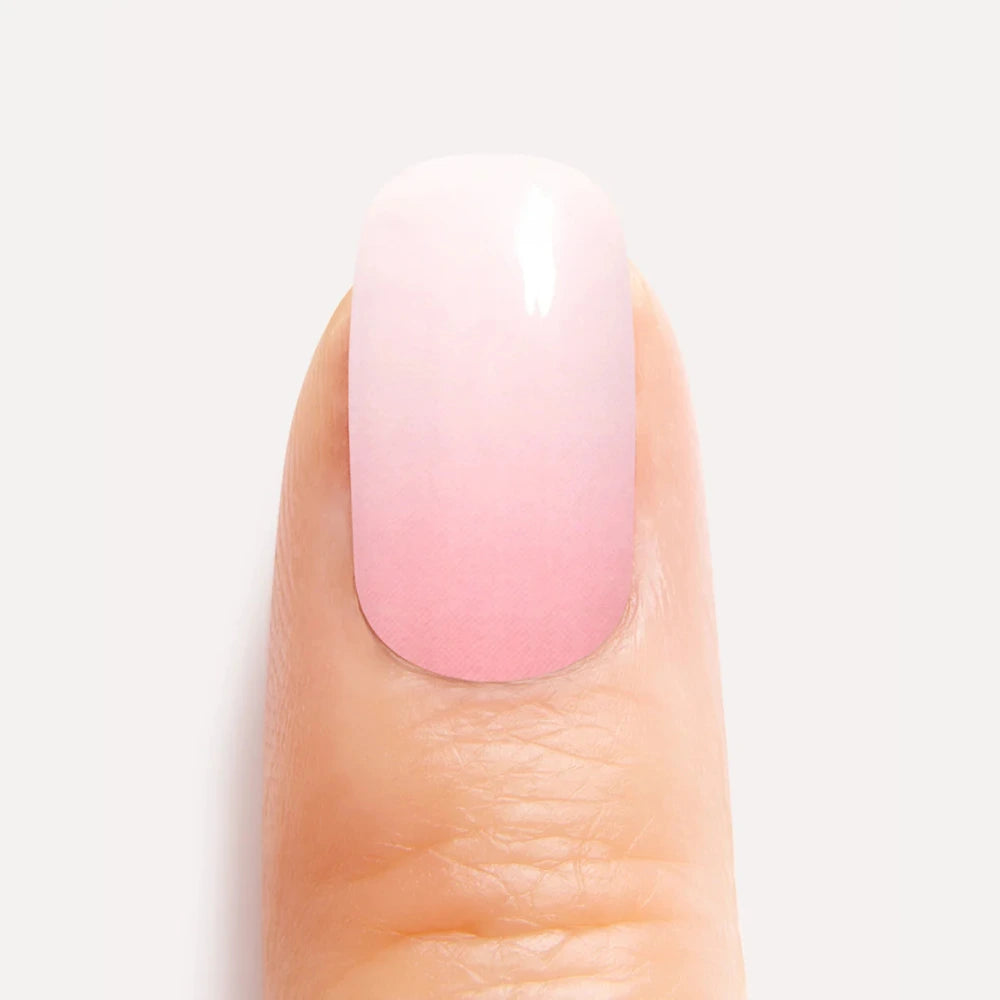
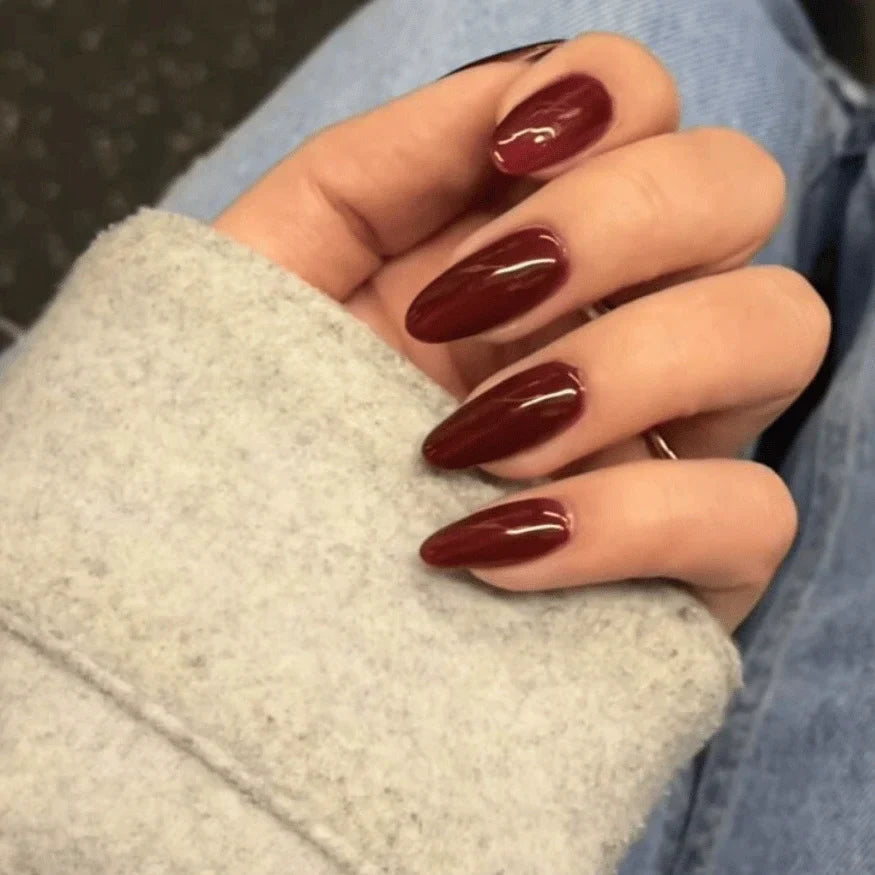
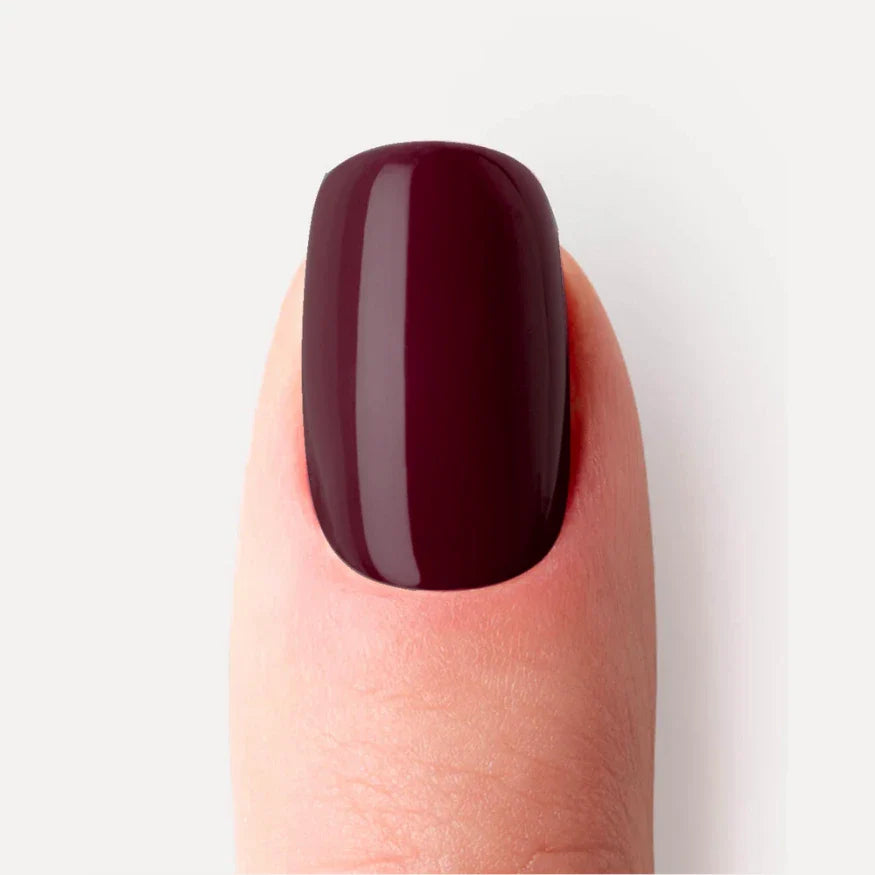
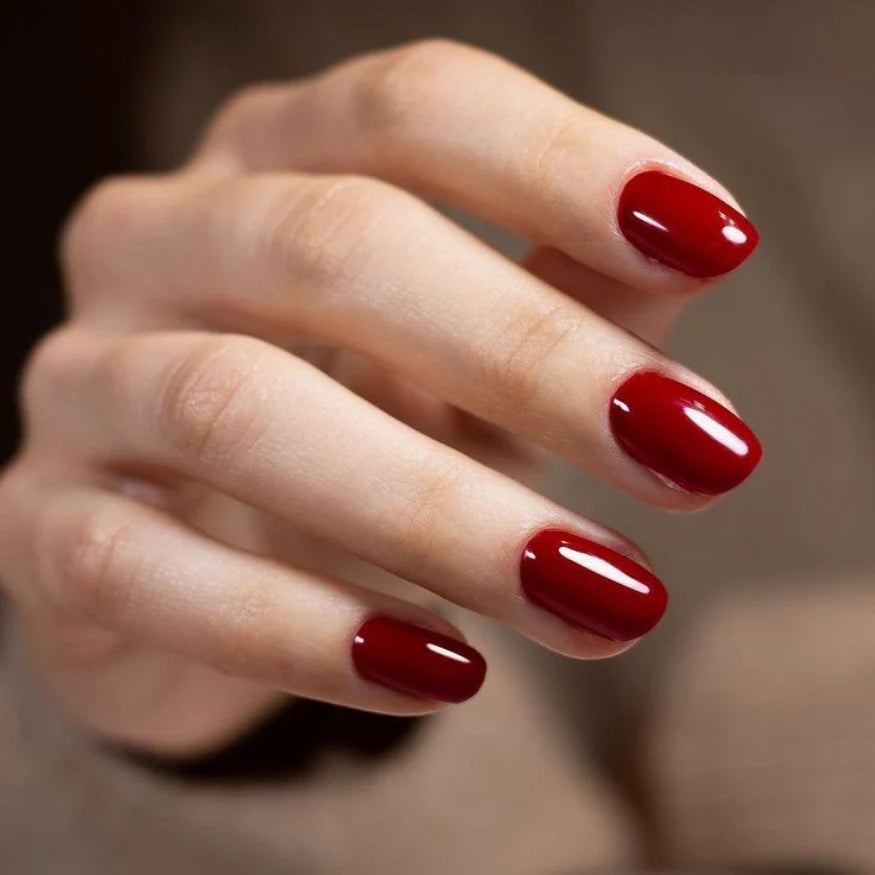
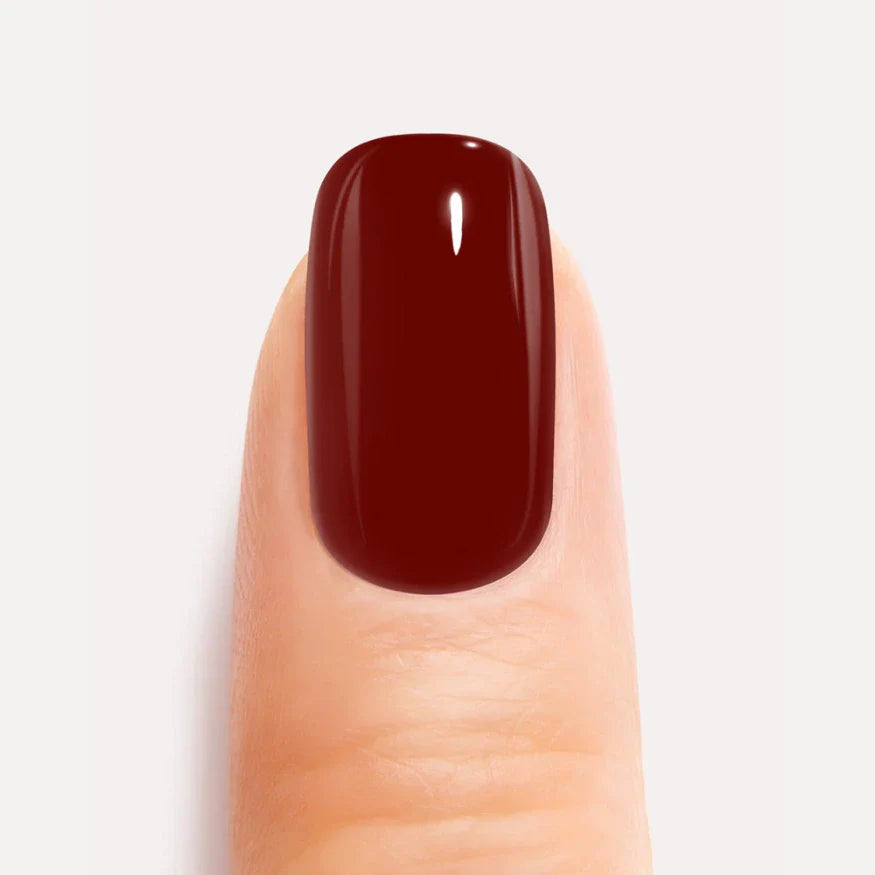
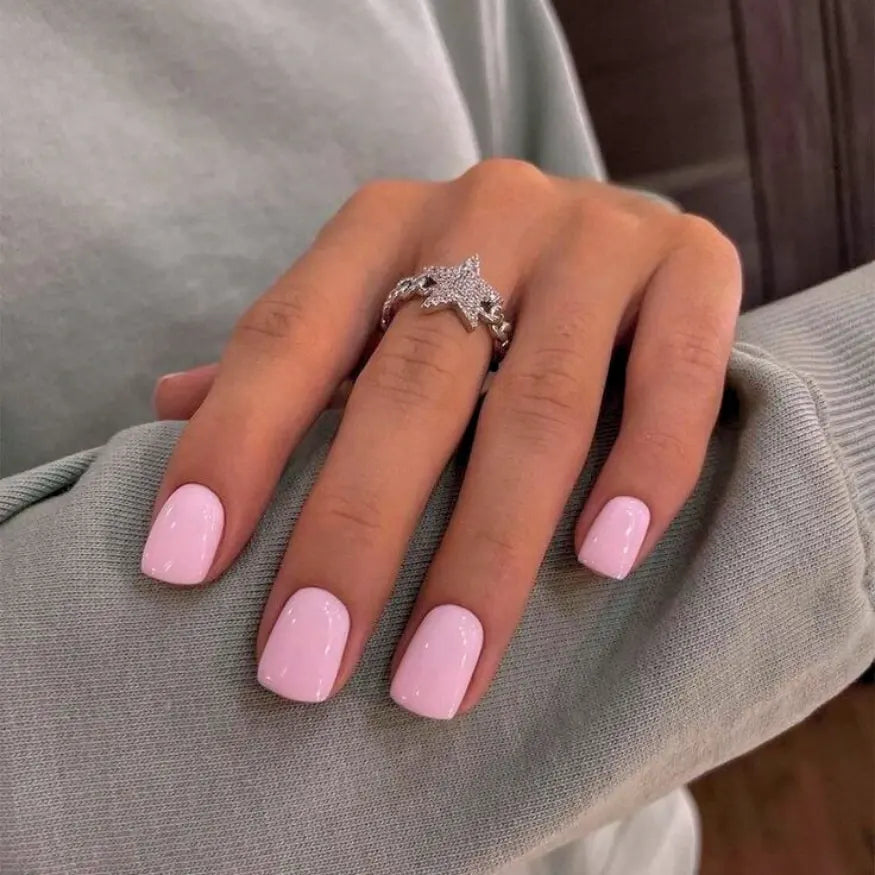
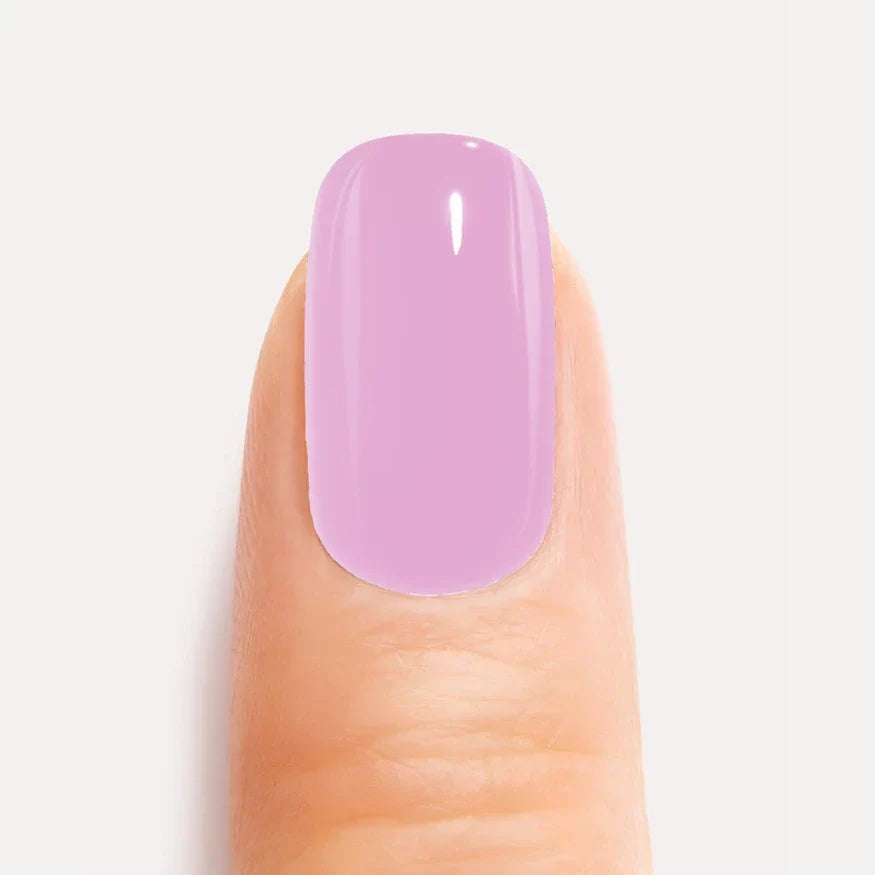
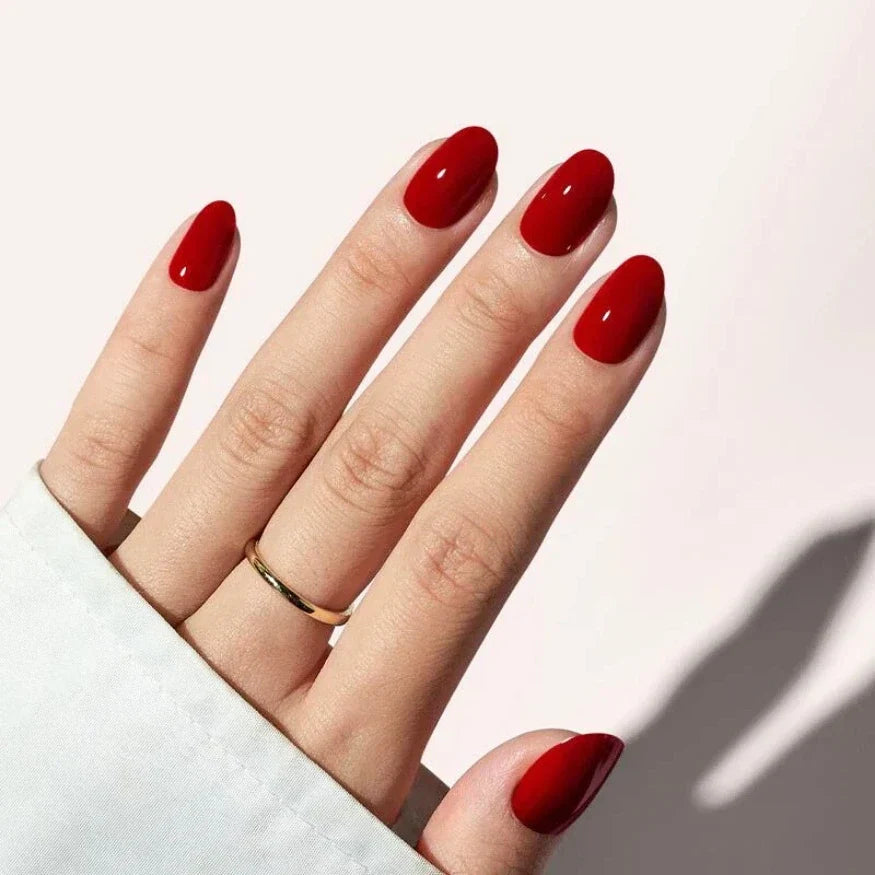
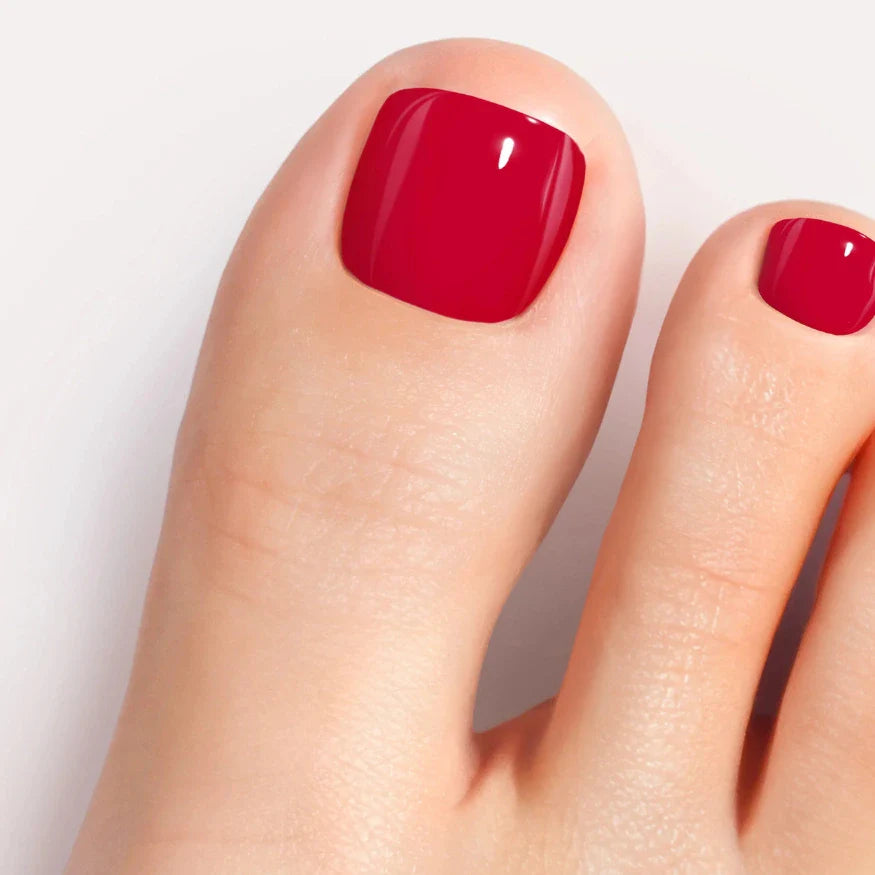
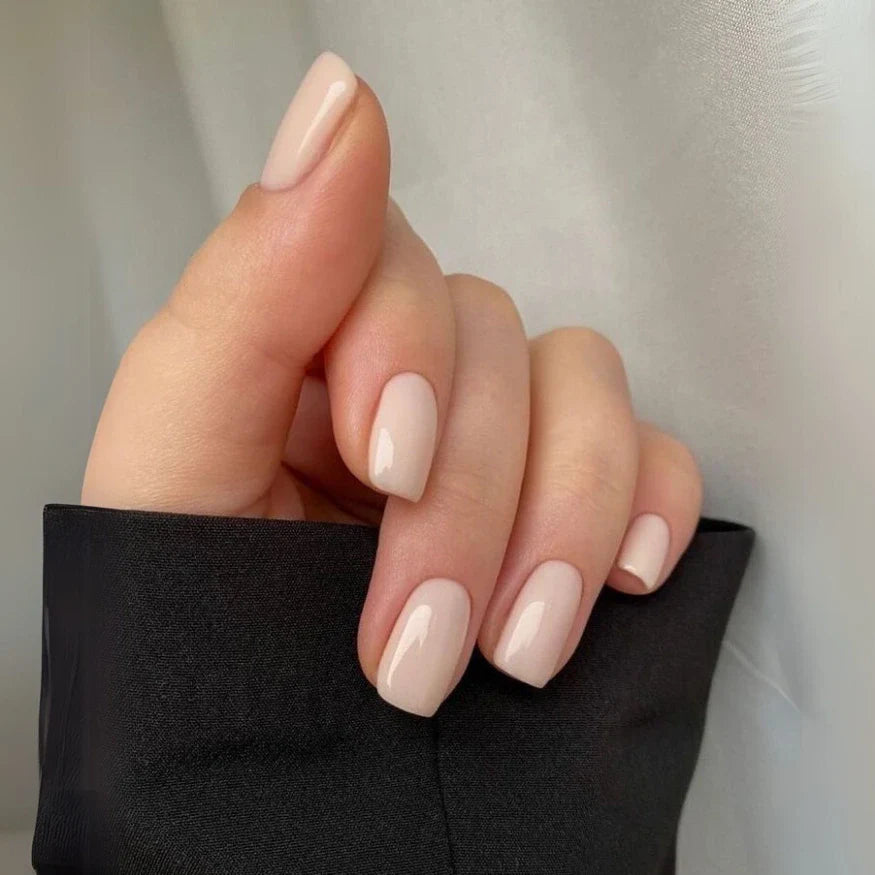
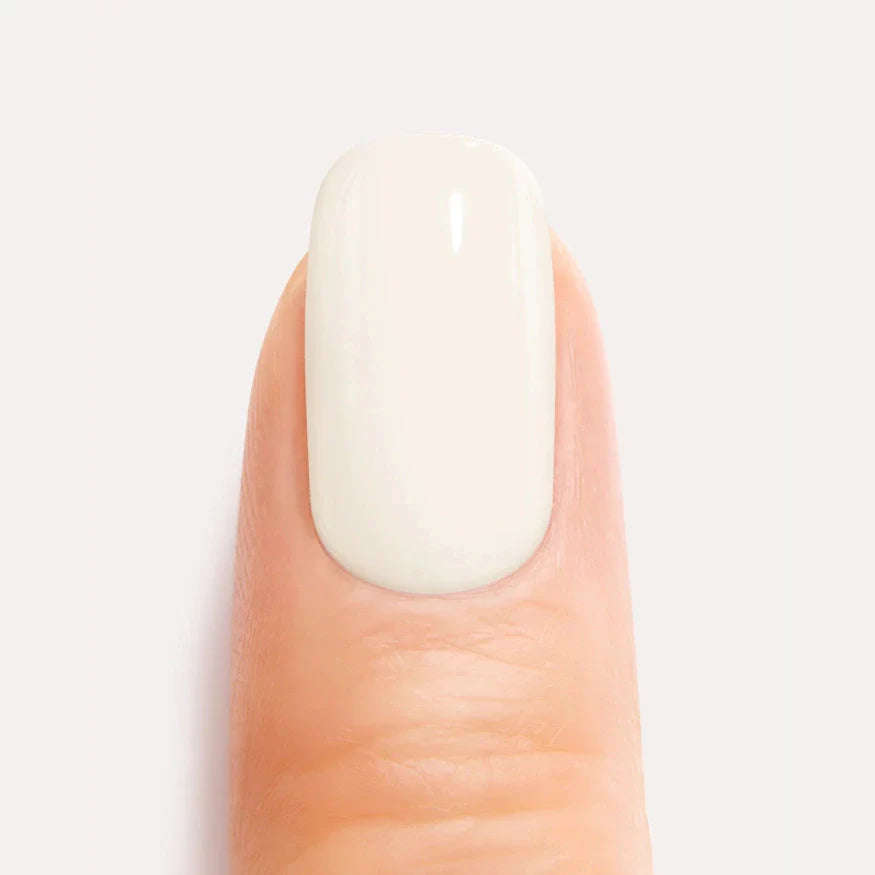
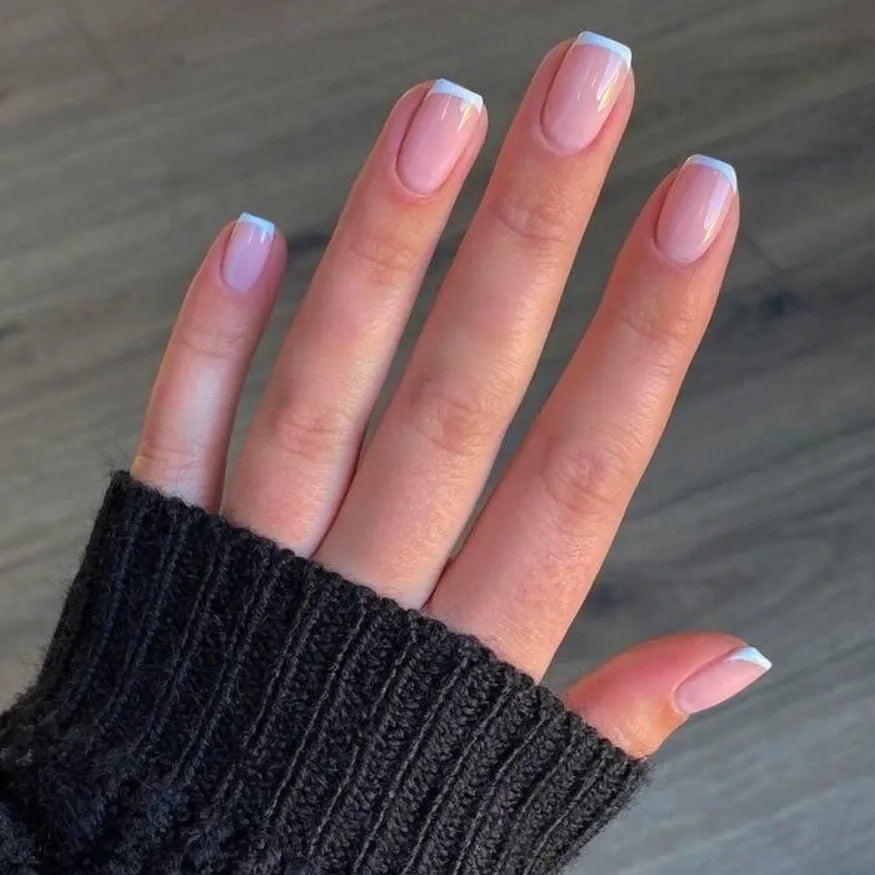
Find your perfect match
Delicate nudes, classic reds, and a colorful variety for every mood!


Love It or Get Your Money Back
Why not try it? If you’re not satisfied, you get a full refund. Try it risk-free today !
